Embarking on the journey of baking fresh bread is a rewarding experience that combines science, art, and a touch of patience. With the right guidance and a bit of practice, you can become a pro at achieving the perfect consistency of dough every time. In this article, we'll delve into the intricacies of bread baking, drawing on the valuable tips and visual guide from our Test Kitchen.
First and foremost, understanding the ingredients is crucial. Flour is the foundation of any bread recipe. Different types of flour, such as all - purpose, bread flour, and whole wheat flour, have varying protein contents. Bread flour, with its higher protein content, forms more gluten when kneaded, resulting in a chewier texture. Whole wheat flour, on the other hand, adds a nutty flavor and more nutrients but can make the dough denser. Experimenting with different flour blends can lead to unique and delicious bread.
Yeast is another key ingredient. It's a living organism that ferments the sugars in the dough, producing carbon dioxide gas. This gas is what causes the dough to rise. There are two main types of yeast: active dry yeast and instant yeast. Active dry yeast needs to be activated in warm water before use, while instant yeast can be added directly to the dry ingredients. The temperature of the water used with yeast is critical. Too hot, and it will kill the yeast; too cold, and the yeast won't activate properly.
When it comes to mixing the dough, there are a few techniques to keep in mind. The first step is to combine the dry ingredients in a large bowl. Then, gradually add the wet ingredients, such as water, milk, or eggs. Use a wooden spoon or your hands to start incorporating the wet and dry ingredients. As the dough begins to come together, it's time to start kneading. Kneading is the process of working the dough to develop the gluten. Gluten gives the bread its structure and elasticity.
To knead the dough properly, place it on a lightly floured surface. Push the dough away from you with the heels of your hands, then fold it back over itself. Rotate the dough a quarter - turn and repeat the process. This should be done for about 10 - 15 minutes until the dough is smooth and elastic. If the dough is too sticky, add a little more flour; if it's too dry, add a small amount of water.
After kneading, the dough needs to rise. Place it in a greased bowl, cover it with a damp cloth or plastic wrap, and let it rise in a warm place. The ideal temperature for rising is around 75 - 85°F (24 - 29°C). The dough should double in size, which usually takes about 1 - 2 hours. You can test if the dough has risen enough by gently pressing your finger into it. If the indentation remains, the dough is ready.
Once the dough has risen, it's time to shape it. Punch the dough down to release the air bubbles. Then, shape it into the desired form, such as a loaf, rolls, or a boule. Place the shaped dough in a greased baking pan or on a baking sheet lined with parchment paper.
Let the dough rise for a second time, which is called proofing. This usually takes about 30 minutes to an hour. During this time, the dough will continue to expand and develop more flavor.
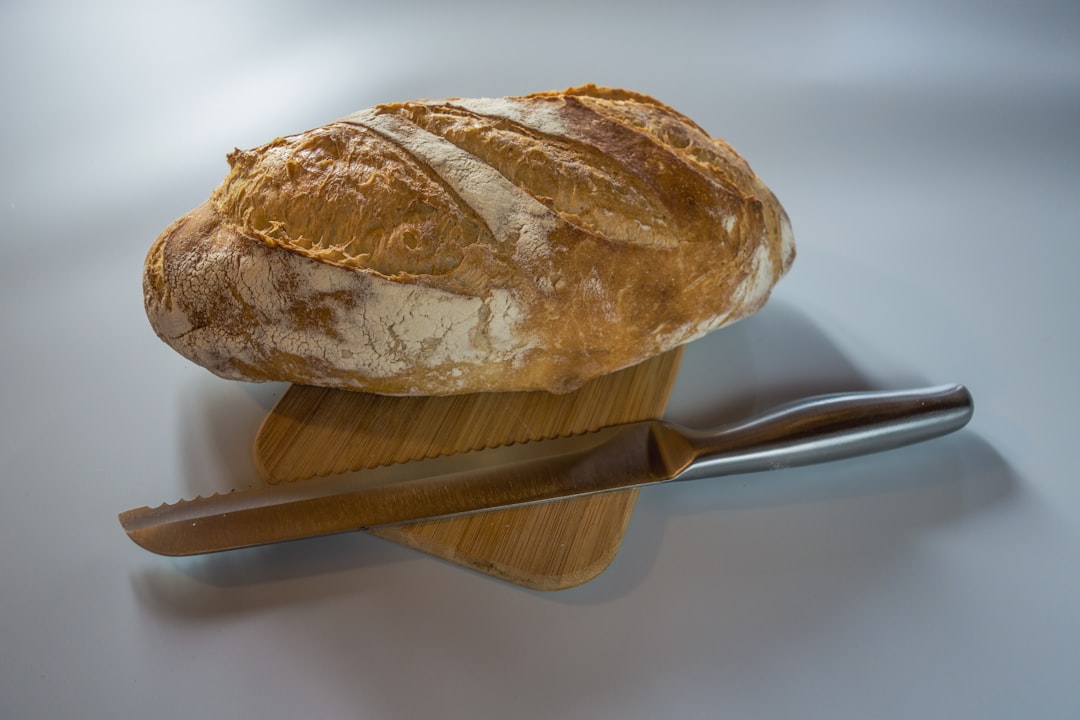
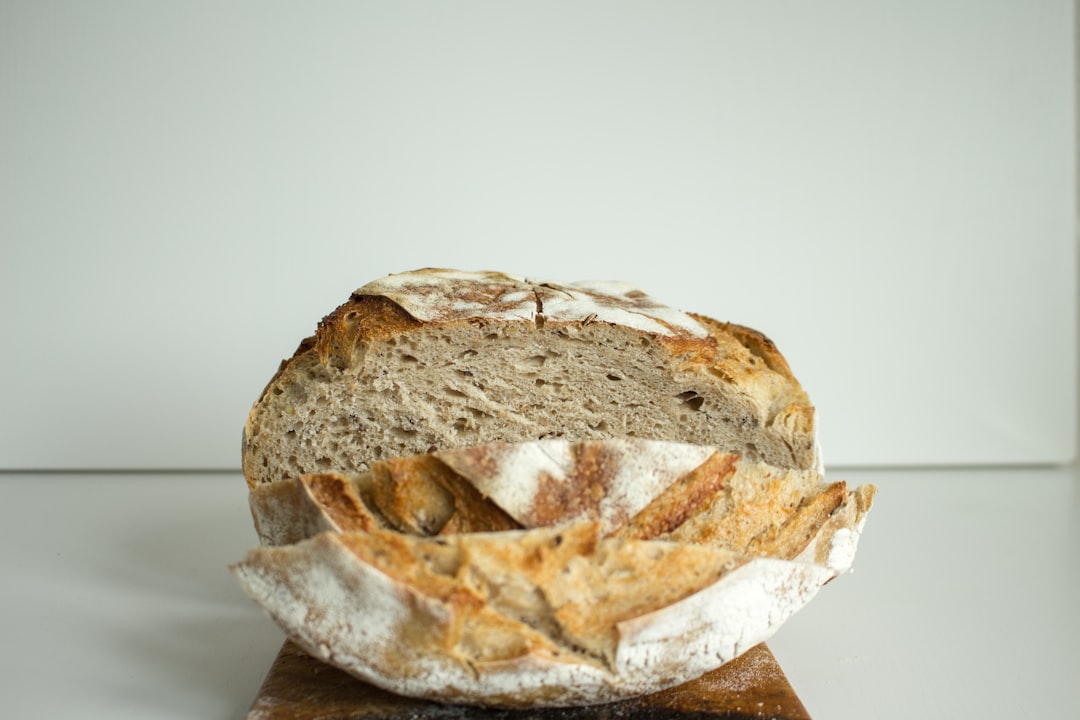
Preheat your oven to the temperature specified in the recipe. Just before baking, you can make a few shallow cuts on the top of the dough with a sharp knife. This allows the bread to expand during baking without bursting. Bake the bread until it's golden brown on the outside and sounds hollow when tapped on the bottom. This usually takes about 25 - 35 minutes, depending on the size and type of bread.
After baking, let the bread cool on a wire rack. This allows the steam to escape and the bread to develop its full flavor. Once it's cooled, you can enjoy your freshly baked bread, whether it's with a simple spread of butter or as part of a delicious sandwich.
By following these steps and using the tips from our Test Kitchen, you'll be well on your way to becoming a master bread baker. Remember, practice makes perfect, and each batch of bread you bake will be a chance to learn and improve your skills.