Canning apples is a wonderful way to preserve the deliciousness of this versatile fruit and enjoy it throughout the year. In this step - by - step guide, we'll walk you through the entire process of canning apples, from selecting the right apples to the final storage. Along the way, we'll also share our top picks for the best apple varieties for preserving.
Selecting the Right Apples
The first and most crucial step in canning apples is choosing the right type of apples. Not all apples are created equal when it comes to canning. Some apples hold their shape better during the canning process, while others have a more intense flavor. Here are our top picks:
- Granny Smith: These green apples are known for their tart flavor and firm texture. They hold up well during canning and are perfect for making apple pies, sauces, and other cooked apple dishes later on. Their acidity also helps in the preservation process.
- Honeycrisp: With their sweet - tart flavor and crisp texture, Honeycrisp apples are a favorite for fresh eating. But they also work great for canning. They maintain their shape and offer a burst of flavor in every bite, making them ideal for canned apple slices.
- Fuji: Fuji apples are sweet and juicy, with a firm texture. They are less likely to break down during canning and are excellent for making canned applesauce or chunky apple preserves.
Preparing the Apples
Once you've selected your apples, it's time to prepare them for canning. Start by washing the apples thoroughly under running water to remove any dirt or debris. Then, core the apples using an apple corer. You can leave the skin on if you prefer, as it adds extra nutrients and flavor. However, if you want a smoother texture, you can peel the apples using a vegetable peeler.
After coring and peeling (if desired), cut the apples into slices or chunks of your preferred size. To prevent the apples from browning, you can soak them in a bowl of water with a little lemon juice or ascorbic acid. This will keep the apples looking fresh and appealing.
Making the Syrup
A key component of canning apples is the syrup. The syrup not only adds flavor but also helps in the preservation process. You can make a light, medium, or heavy syrup depending on your taste preferences. Here's a basic recipe for a medium - sweet syrup:
Ingredients:
- 2 cups of water
- 1 cup of granulated sugar
Instructions:
- In a medium - sized saucepan, combine the water and sugar. Stir well over medium heat until the sugar is completely dissolved.
- Bring the syrup to a boil, then reduce the heat and let it simmer for about 5 minutes. This will help to remove any impurities and ensure a clear syrup.
Canning the Apples
Now that your apples and syrup are ready, it's time to start canning. You'll need clean, sterilized canning jars with lids and rings. Fill the jars with the apple slices or chunks, leaving about 1/2 inch of headspace at the top. Pour the hot syrup over the apples, making sure to cover them completely. Use a non - metallic utensil to remove any air bubbles by gently stirring the apples in the jar.
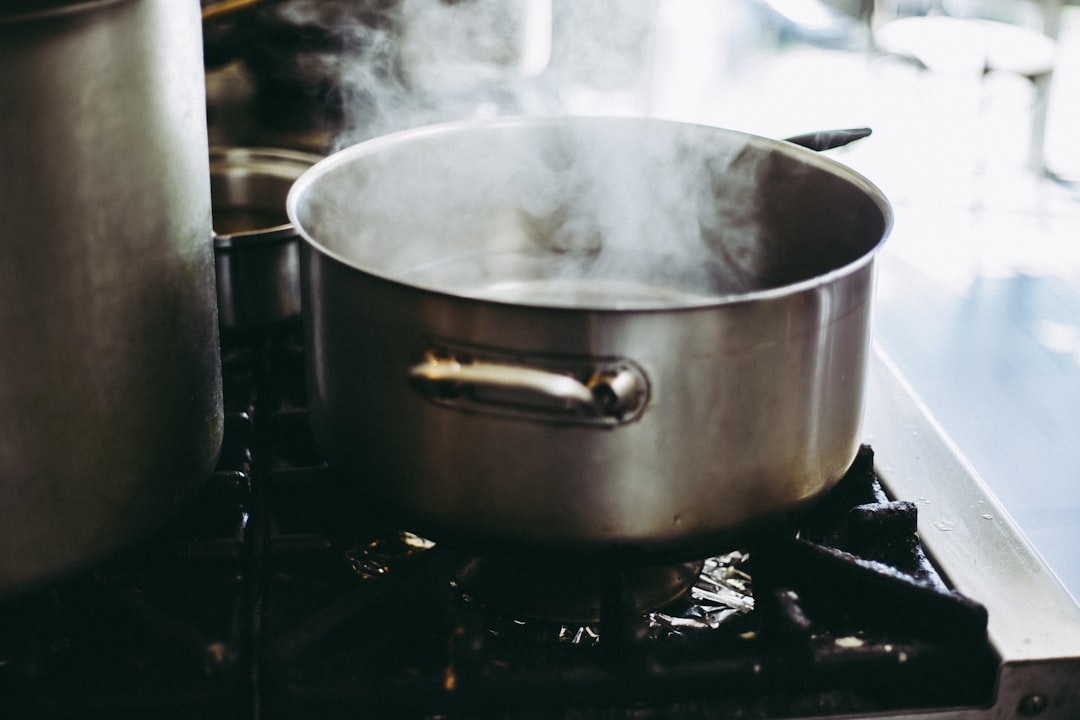
Wipe the rims of the jars with a clean, damp cloth to remove any spills or syrup. Place the lids on the jars and screw on the rings until they are fingertip - tight. Process the jars in a boiling water bath for the recommended time based on your altitude and the size of the jars. For example, pint jars typically need to be processed for about 20 - 25 minutes at sea level.
Storing the Canned Apples
After the processing time is up, carefully remove the jars from the boiling water bath using a jar lifter and place them on a towel - lined countertop. Let the jars cool completely undisturbed. As the jars cool, you'll hear a popping sound, which indicates that the jars have sealed properly. Check the seals by pressing down on the center of the lids. If the lids don't flex, the jars are sealed.
Store the sealed jars in a cool, dark place, such as a pantry or cellar. Your canned apples will keep for up to a year. When you're ready to enjoy them, simply open a jar and use the apples in your favorite recipes, whether it's an apple pie, a warm apple crisp, or a simple bowl of canned apples with cream.
In conclusion, canning apples is a rewarding and relatively simple process that allows you to savor the taste of apples all year long. By following these steps and choosing the right apples, you can create delicious canned apple products that will be a hit with your family and friends.